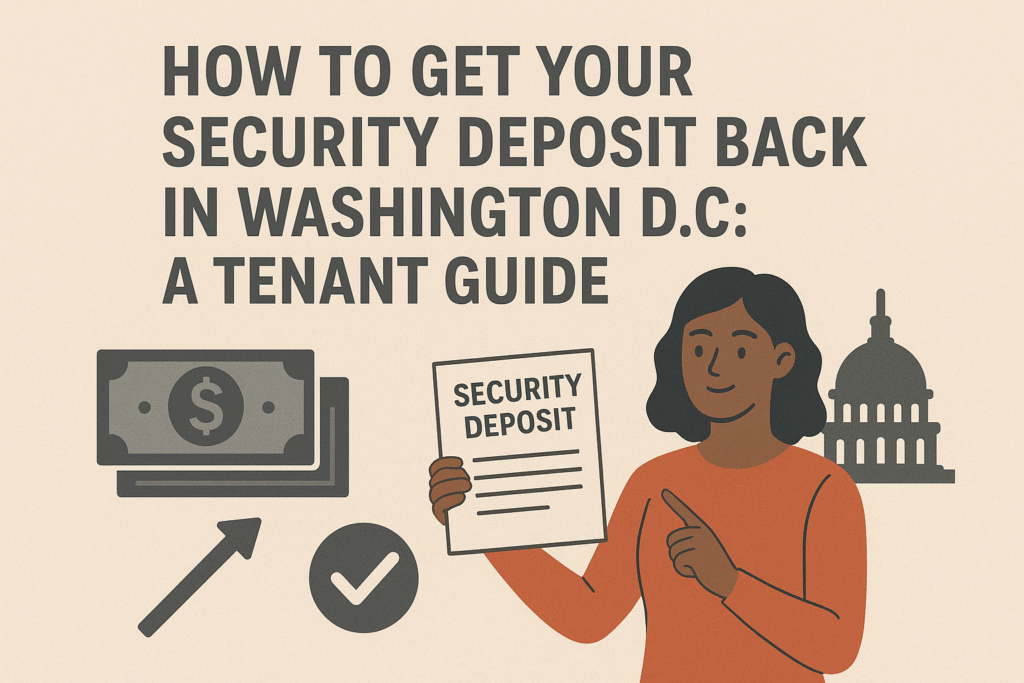
When you move out of a rental home or apartment, getting your security deposit back is often a big deal. That money can help you pay for moving costs, cover the first month’s rent in your new place, or just be a nice chunk of savings.
But sometimes, getting that full deposit back can feel like a tricky puzzle, especially in a city like Washington D.C., where the rules are very specific.
At Elevate Realty Solutions, we specialize in top-quality property management services and want to help both our owners and tenants understand the rules. Our goal is to make the moving process as smooth as possible for everyone.
This guide is written just for D.C. tenants. We will break down the rules for your security deposit in simple, easy-to-understand words. We will show you the exact steps you need to take to make sure you get your money back when your lease ends.
What Exactly is a Security Deposit?
Before we talk about getting it back, let’s quickly explain what it is in the first place.
Think of a security deposit as an insurance payment you give your landlord when you first move in. It’s held in a separate account for the entire time you live there.
The main purpose of this money is to cover the landlord’s costs if:
- You cause damage to the property beyond normal wear and tear (like a big hole in the wall or ruined flooring).
- You leave without paying your last month’s rent.
- You don’t clean the unit to the standard it was when you moved in (minus normal aging).
In Washington D.C., there is a rule about how much a landlord can ask for: A landlord cannot ask for more than one month’s rent for a security deposit. If your rent is $2,000, your security deposit cannot be more than $2,000. He can do a property valuation and keep a deposit to repair any damage done during your stay.
Step 1: Document Everything from Day One (The Move-In)
The best time to start working toward getting your security deposit back is the moment you move in. This is the most important step for proof later on.
The Move-In Checklist/Condition Report
When you get the keys, your landlord should give you a form called a move-in checklist or a condition report. This form is where you and the landlord note the condition of the property and complete a property detailed reporting before you unpack your first box.
What you must do:
- Be Detailed: Walk through every room slowly. Look for every scratch, stain, chip, or dent. Don’t just write “living room looks fine.” Write “Small scratch on the left side of the fireplace mantle” or “Stain on the carpet near the balcony door.”
- Take Photos/Videos: Use your phone to take lots of pictures and videos of everything, especially any existing damage, no matter how small. Make sure your photos are dated (most phones do this automatically).
- Sign and Keep a Copy: Sign the form, and make sure your landlord signs it too. You must keep a copy of this document and all your photos. This is your proof that you didn’t cause the damage that was already there.
Step 2: Live Responsibly (During the Lease)
While you are living in the property, you have a duty to take care of it. This just means being a good tenant.
Keep it Clean
A landlord cannot charge you for “normal wear and tear” (more on that below). But they can charge you for a lack of basic cleanliness.
- Try to clean up spills right away.
- Don’t let your bathtub or oven get completely coated in grime.
- If you have pets, deal with pet messes quickly and make sure they aren’t scratching doors or carpets.
Report Necessary Repairs
If the toilet is leaking, the heat stops working, or there is a hole in the roof, report it to your landlord right away in writing (email is best).
Why? If you don’t report a small leak, and that leak turns into massive mold and ruined floors six months later, the landlord might argue that your failure to report it made the damage worse. Always keep a paper trail!
Step 3: Getting Ready to Move Out (The Final Steps)
As your lease is ending, you need to follow a few more D.C. rules.
Give Proper Notice
Make sure you give your landlord the correct amount of notice that you plan to move out, exactly as written in your lease. If you don’t give enough notice, they might try to charge you rent for the time you didn’t give notice, and take that from your deposit.
The Move-Out Inspection
This is a key part of the D.C. law!
The Landlord’s Duty:
In Washington D.C., the landlord must let you know when they are going to do a final move-out inspection. This notice must be sent to you by first-class mail at least 15 days before your tenancy ends.
Your Right to Be There:
You have the right to be at the inspection. This is your chance to agree or disagree with any claimed damages while you are still there.
What Happens Next:
The landlord will create a final list of things they think need to be fixed or cleaned beyond the normal wear and tear.
Step 4: The Final Clean and Fix
This is where you make the final push to get your full deposit back.
The Cleaning
Your goal is to leave the place as close as possible to the condition it was in when you moved in (remember your move-in checklist).
- Deep clean the oven, fridge, and bathroom.
- Wipe down all walls, baseboards, and windows.
- Clean all carpets (you may even want to hire a professional cleaner and keep the receipt).
Fix Small Things
If you caused small damage, like a few holes from hanging pictures, it is usually cheaper and better to fix them yourself than to let the landlord do it and charge you.
- Patch up nail holes and touch up the paint.
- Replace burnt-out light bulbs.
if you can’t do it yourself, rental property repair services are a reliable choice.
Understanding “Normal Wear and Tear”
This is an important legal phrase. A landlord cannot charge you for things that happen just because a place is lived in for a long time.
Examples of Normal Wear and Tear (Landlord Pays):
- Fading paint from the sun.
- Small scuff marks on the wall where furniture sat.
- Minor thinning of the carpet in high-traffic areas.
- A worn finish on wood floors.
- A loose doorknob.
Examples of Damage (Tenant Pays):
- A large hole in the wall from an accident.
- Pet urine stains that soak into the carpet and padding.
- A large burn mark on the kitchen counter.
- Missing or broken blinds/appliances.
Step 5: Getting Your Money Back (The D.C. Timeline)
Washington D.C. has a very strict timeline for landlords to follow. Knowing this timeline is your biggest power.
The Rule: A landlord must return your security deposit (plus any interest it earned) or send you a detailed written list of deductions within 45 days of the date you move out.
The Deductions List
If the landlord keeps any part of your deposit, the list must be very detailed. It should include:
- A clear reason for the deduction (e.g., “Replacing broken kitchen cabinet door”).
- The exact cost of the repair or cleaning.
- Copies of receipts or estimates for all the work.
Give a Forwarding Address
To make sure your check or list of deductions gets to you, you must give your landlord your new, official forwarding address in writing. Send this notice by certified mail so you have a receipt.
What Happens If the Landlord Breaks the Rules?
This is where the law truly protects you.
If the landlord does not send you the full deposit or the detailed list of deductions within that 45-day window, they must return the entire security deposit to you immediately.
In fact, if a landlord keeps a deposit past the 45-day limit without sending the required notice, and you have to sue them to get it back, a court can rule that the landlord has to pay you up to three times the amount of the deposit. This is a serious penalty to make sure landlords follow the rule. it’s smart to hire a legal compliance service for property matters to make sure everything goes smoothly.
Final Thoughts from Elevate Realty Solutions
Getting your security deposit back shouldn’t be a fight. It should just be the simple end to your lease. By being a thoughtful, careful tenant and following these D.C. steps, you are doing everything you need to do to protect your money.
Remember: Document everything, keep it clean, and know the 45-day deadline.
We hope this guide makes your next move stress-free. If you are an owner looking for a property management firm that knows these D.C. rules inside and out, or a tenant looking for a quality rental, please contact Elevate Realty Solutions today.